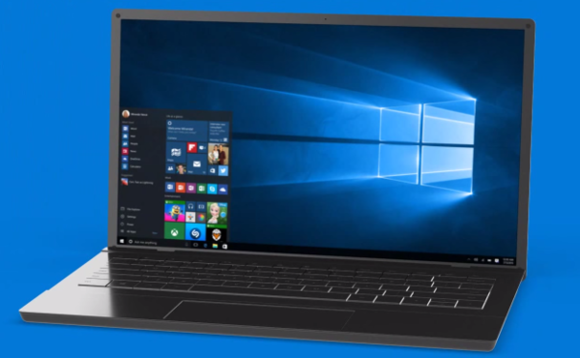
How to reclaim 20GB of hard drive space after the Windows 10 November update?
Need some extra space on your PC’s internal drive after installing the November update? Here’s how to make room, but make sure your system is stable before you do.
Just as we did when the Windows 8.1 update rolled out, you can use the Disk Cleanup utility to get that storage space back. I was able to save more than 20GB post-November update, which is a good amount of storage.
Just keep in mind that if you dump these files there’s no going back. Once these files are gone you cannot roll back your Windows installation to a previous version should problems arise. Make sure you’ve been running the November update for at least a few days, if not a week, before you think about doing this. Personally, I got the update on the day it rolled out and everything’s been working fine since so, I dumped the files. Your experience may vary.
Disk Cleanup

To dump the installation files, you’ll need the Disk Cleanup utility. Click on Cortana/search and type in ‘Disk Cleanup’. The top choice should be the utility you’re looking for as pictured here.
Click on that to open the utility. Next, Click on Clean up system files this will prompt Disc Cleanup to rescan your C drive for more files to be deleted.

When the Disk Cleanup window comes back scroll down a bit and you should see an entry for “Previous Windows installation(s)” with a value of 20GB or more. Scroll down a little bit more and you should be able to squeeze out a few more gigabytes by deleting “Temporary Windows installation files”.
Click the check boxes of the items you want to delete. Again: If you choose to delete the previous Windows installations and the temporary installation files you will not be able to roll back your system to the previous version of Windows should your system become unstable.
Once you’ve selected all the files you want to delete, click OK and then another window will pop-up asking you to confirm. In that second window click Delete Files.
The deletion process will start, and then you will get one final warning about deleting Windows installation files and temporary installation files. If you’re still sure about the stability of your system click Yes and in a few minutes you’ll have your hard drive space back.
source: pcworld